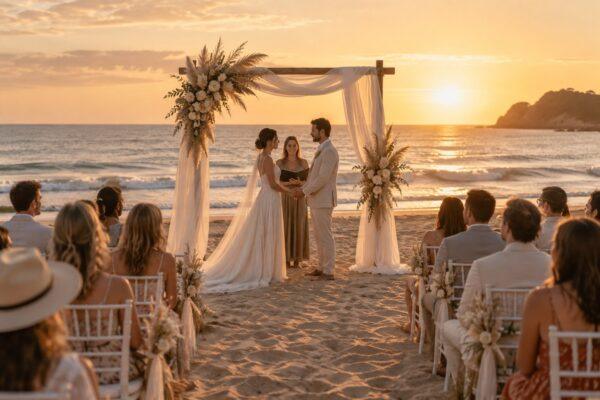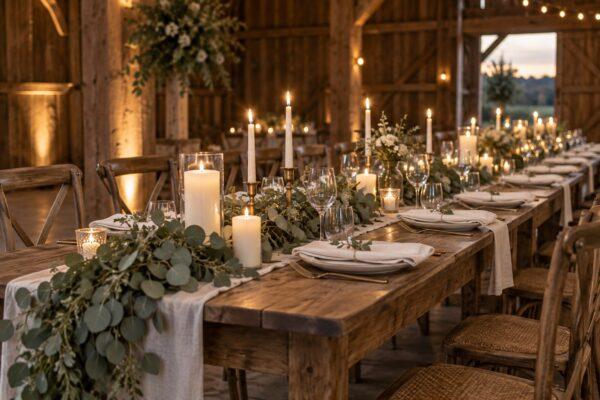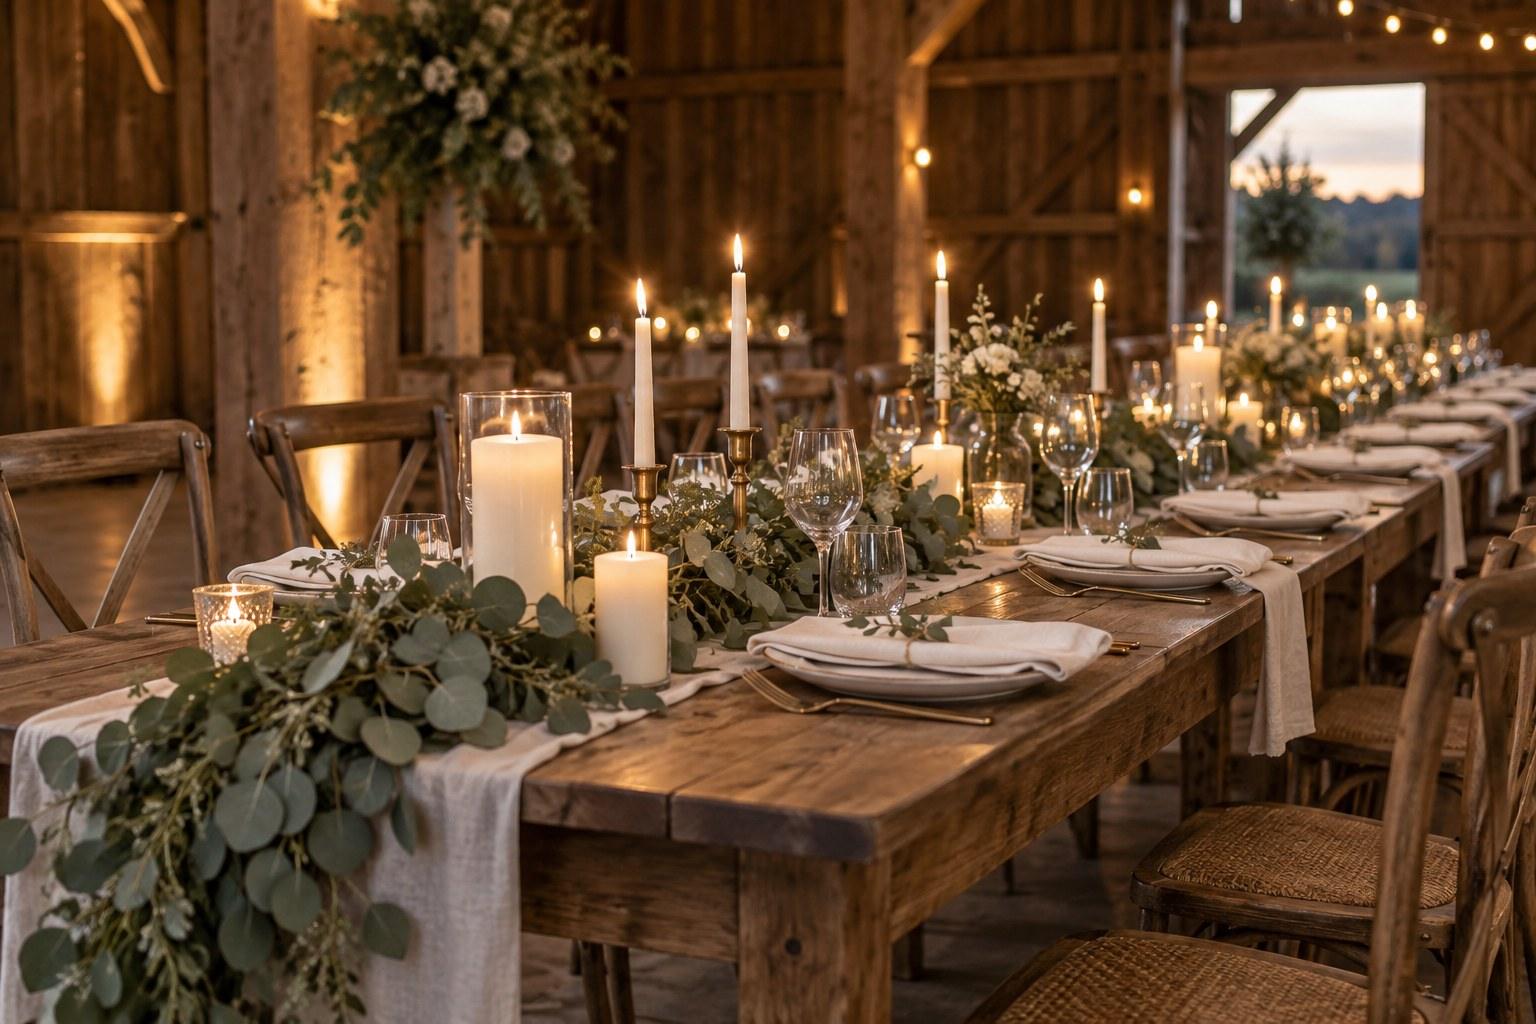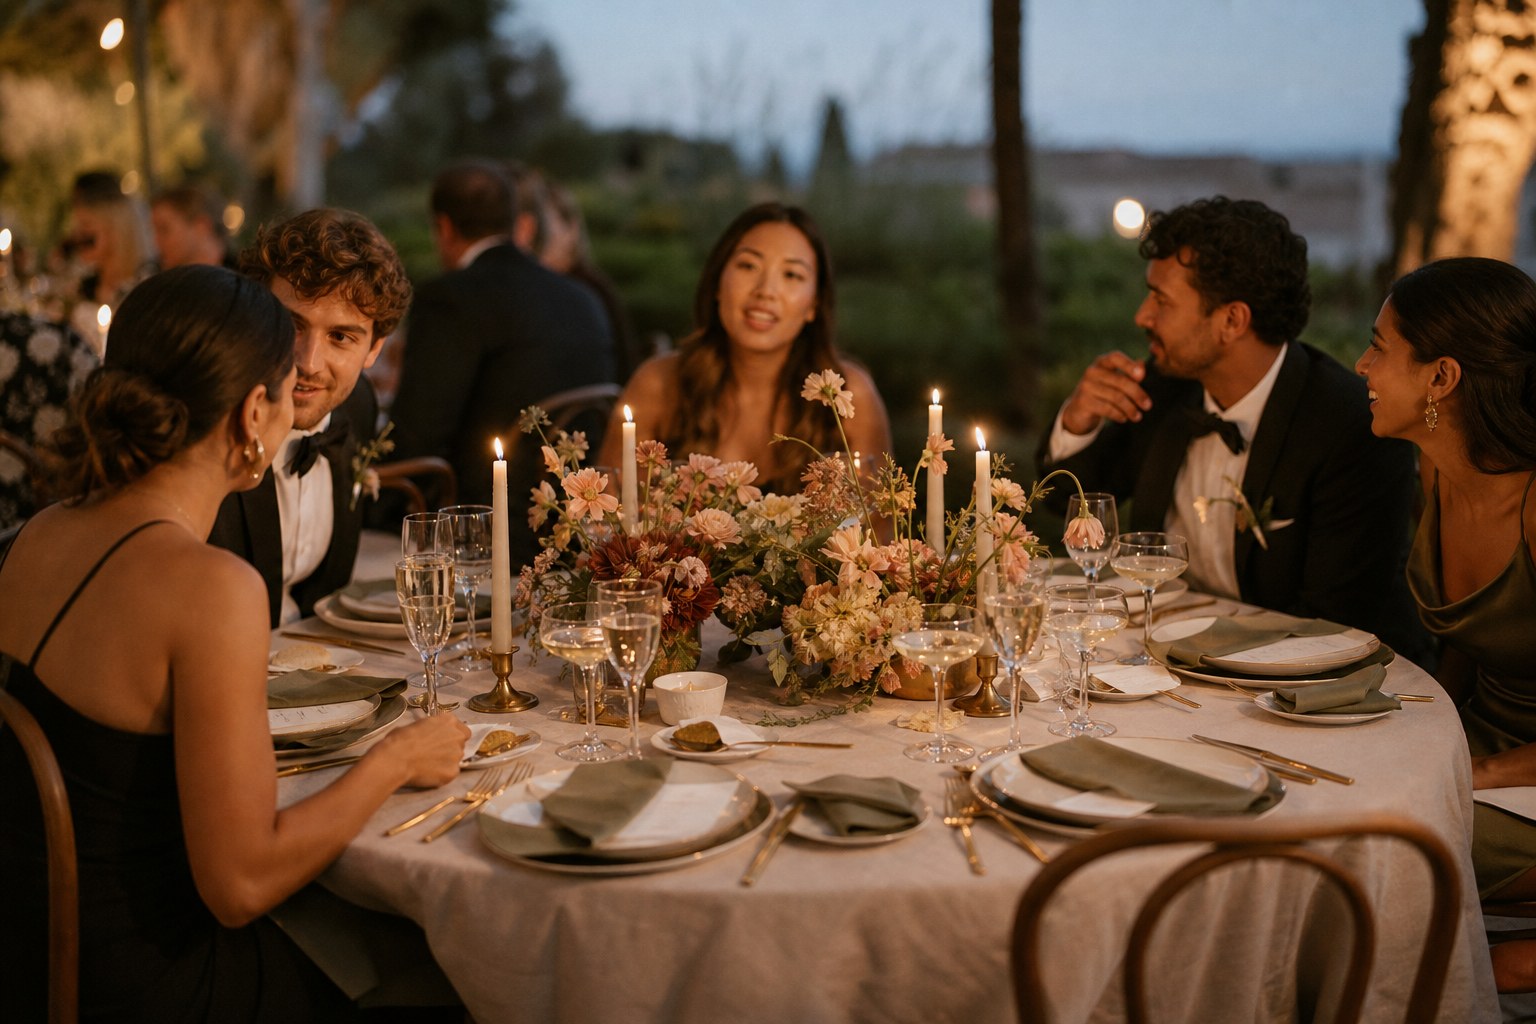
A reception room is empty, echoey and lit like a conference centre. Four hours later, the doors open and two hundred guests audibly gasp. That gap is your job. And almost all of it happens on the tables. 🕯️
Wedding table styling is the highest-leverage design work you will do at a wedding. It is what guests sit inside for five hours, what the photographer shoots first, and what ends up on every phone in the room. Get it right and your business grows on other people’s cameras.
This is the process we teach inside the Certificate in Wedding Styling — how to build a tablescape that holds together as a design, survives a real service, and photographs beautifully.
Start with the room, not the Pinterest board
Every styling mistake starts the same way: a stylist falls in love with an image and then tries to force it into a room it was never made for. Before you choose a single item, walk the space and record four things.
- Light — where is the natural light coming from, what time does it go, and what is the artificial lighting like when it does? A warm barn at 7pm and a glass marquee at 2pm need entirely different palettes.
- Table shape and size — round, long, oval, and their exact dimensions. Everything in your quote depends on this number.
- Existing colour — carpet, wood tone, wall colour, chair fabric. You are not designing on a white page.
- Access and timing — when you can get in, whether the room is being turned around from a ceremony, and who is laying the cutlery.
A design that ignores the venue’s own colour story always looks slightly off in photos, and nobody can ever explain why.
The layers of a wedding tablescape
Build in order. Each layer sits on the one below, and skipping a layer is what makes a table feel unfinished.
Layer 1 — the base
Linen, or the bare table if the timber deserves to be seen. Linen is the single biggest visual surface on the table and the cheapest way to change the entire mood of a room. Length matters: a cloth that stops short of the floor undoes everything above it. Press it, and build in time to press it.
Layer 2 — the setting
Crockery, cutlery, glassware, napkin. This is where consistency wins. Mixed vintage china is a deliberate look that needs commitment across every table; half-committed mixing looks like a shortage. Decide whether the napkin is folded, draped or tied and repeat it identically on all one hundred and eighty covers.
Layer 3 — the height
Centrepieces, candlesticks, taper candles, arrangements. This is your architecture. Work with rhythm — a repeating unit down a long table reads far more expensive than one large arrangement stranded in the middle.
Layer 4 — the detail
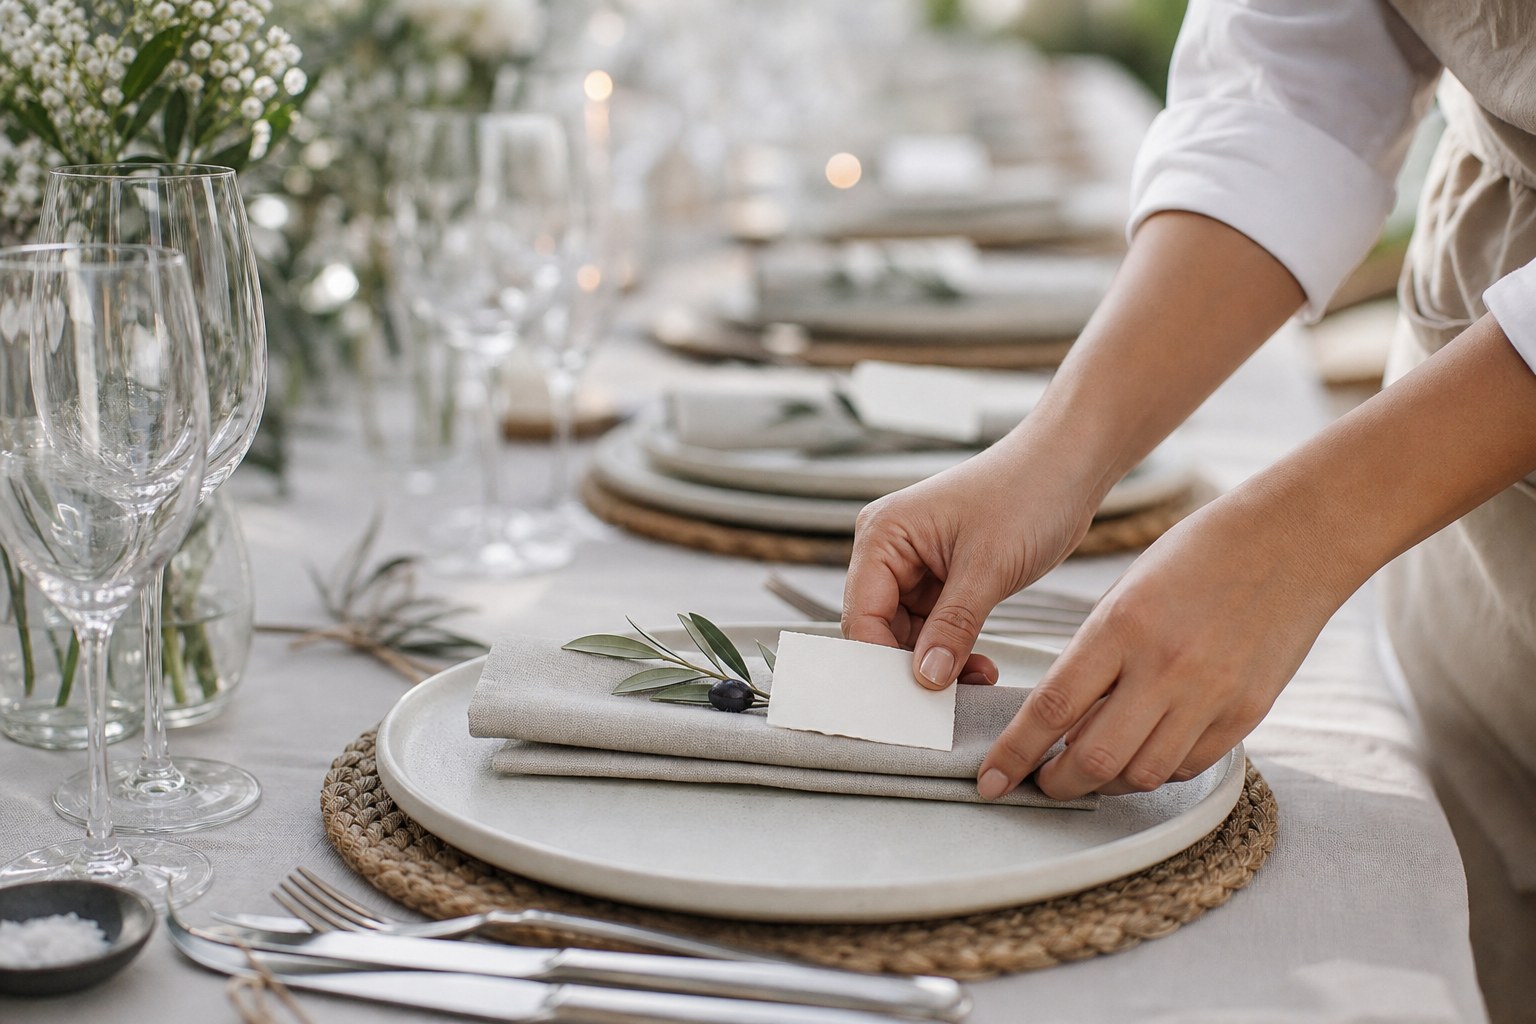
Place cards, menus, favours, napkin adornments, loose botanicals, small vessels. Detail is the last 10% and it is where a table becomes editorial. It is also where most stylists overdo it.
Colour, texture and the rule of restraint
A tablescape needs three colours at most: a dominant, a supporting, and an accent. Everything else is texture. If you are choosing between adding a fourth colour and adding a fourth texture, add the texture — raw linen, rippled glass, unglazed ceramic, brushed brass, matte candle wax.
Restraint is the hardest skill to teach and the fastest way to look expensive. Before you sign off a design, remove one thing. Then look again. Nine times out of ten it improved.
Candlelight: the highest return on spend in wedding styling
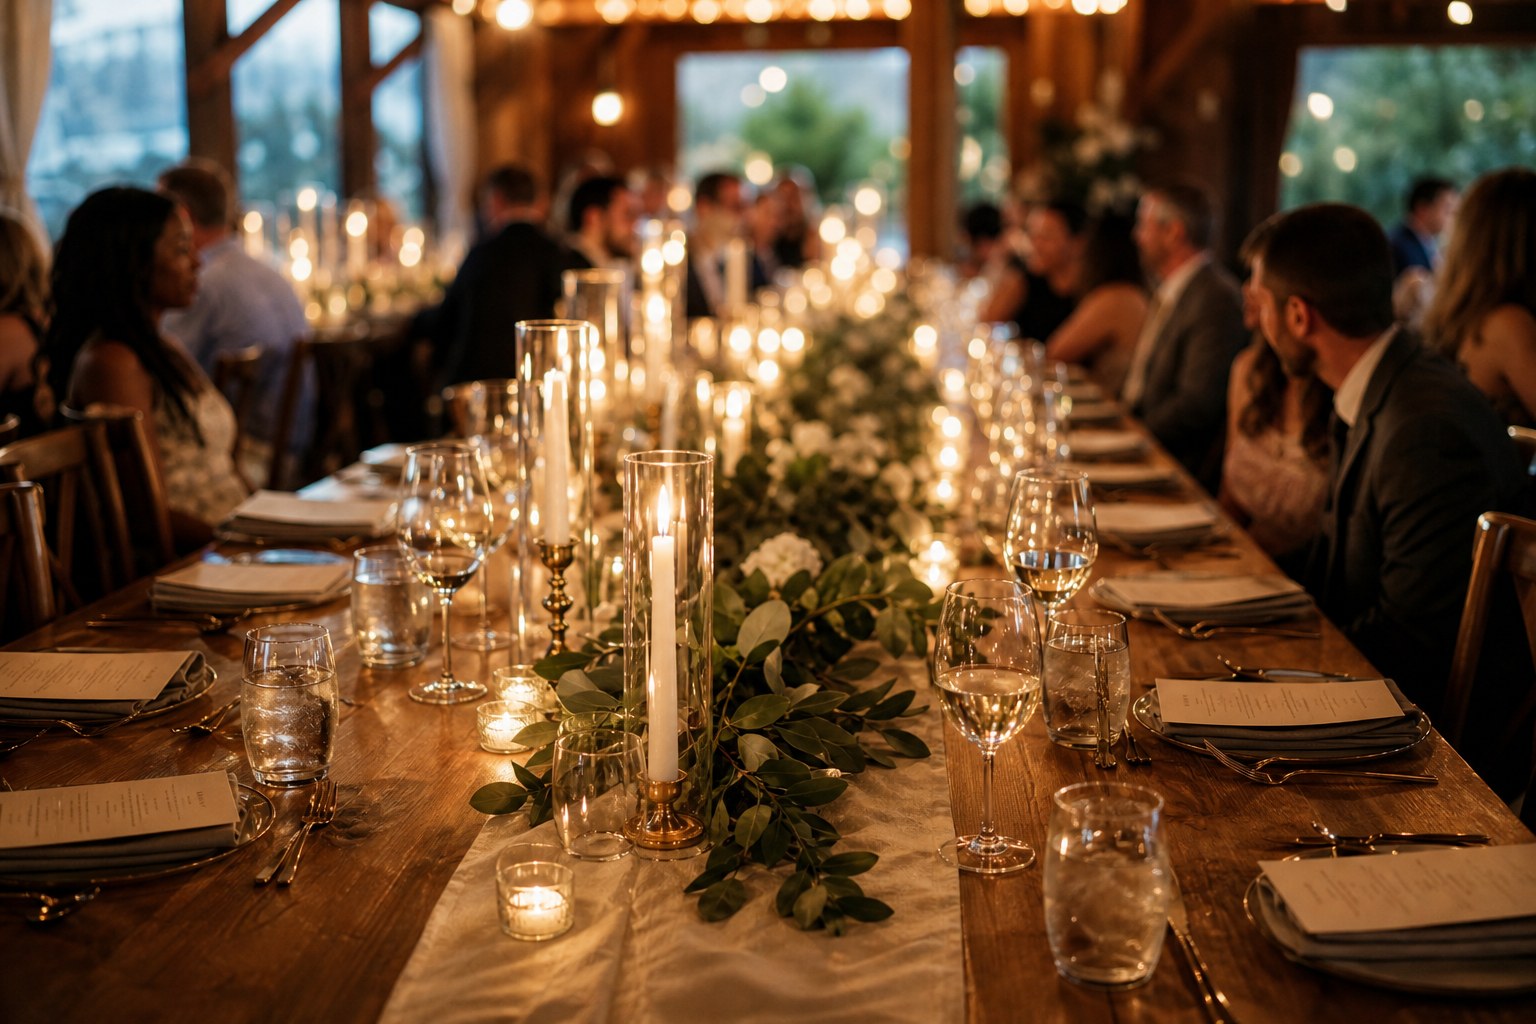
Nothing changes a room faster or cheaper than fire. Low candlelight flatters skin, warms cold venues, adds depth in photographs and covers a multitude of design sins.
- Cluster candles at varying heights rather than spacing them evenly — clusters read as glow, rows read as a landing strip.
- Check your venue’s naked-flame policy in writing before you quote. Some venues require hurricane glass or ban flame entirely; LED alternatives need to be chosen deliberately, not scrambled for on the day.
- Account for burn time. Tapers that look perfect at 6pm can be stubs by the speeches.
- Never place flame within reach of a hanging installation or a low ceiling drape.
Designing a table that actually works during service
A tablescape is not a still life. It has to survive ten guests, a three-course service, wine, elbows and a photographer leaning in. This is where beautiful designs fall apart and where experienced stylists earn their fee.
- Leave real estate for plates. Measure a place setting and mark it out — a table that photographs well empty and cannot fit a main course is a failure.
- Keep sight lines clear: centrepieces below roughly 30cm or above roughly 60cm, never in between.
- Give the venue team a diagram. If your napkin fold and your menu placement are not documented, they will not survive the turnaround.
- Weight anything outdoors. Wind takes menus, place cards and light stems first.
- Plan the pack-down. Every hired item has to come back, counted, in the same condition.
If florals are part of your offer, the mechanics of building low, wide, service-friendly arrangements are covered in the Certificate in Floral Design.
How to photograph your own table styling
Your portfolio is built in the twenty minutes between finishing setup and the doors opening. Do not rely on the photographer to shoot your work the way you need it.
- Shoot before anything is disturbed — the room will never be this clean again.
- Get three shots minimum: the wide room, the table at guest eye level, and one tight detail.
- Turn off the overhead fluorescents if the room has them and shoot with the ambient light your design was built for.
- Straighten your lines. A crooked runner is the difference between a portfolio image and a snapshot.
Quoting a tablescape without losing money
Price the whole job, not the props. Your quote has to carry sourcing, design time, transport, setup labour, on-site hours, pack-down, laundering, breakage and replacement. Stylists who quote only on hire items work an eighteen-hour day for a margin that disappears the moment a charger plate cracks.
Build a per-table cost sheet you reuse on every job: base, setting, height, detail, labour. Then you can price a hundred and twenty guests in ten minutes instead of guessing at midnight.
Turning styling skill into a booked business
Design taste on its own does not fill a diary. The stylists who build sustainable businesses combine a recognisable aesthetic with reliable logistics, clear quoting and supplier relationships that hold under pressure. That is exactly what our styling training is built around — and if you want the planning and business layers alongside it, the Advanced Certificate in Wedding Planning, Styling and Business covers all three.
Want to style weddings people photograph? Learn the design principles, the mechanics and the business behind professional wedding styling — online, at your own pace, with tutor feedback on your work.
Frequently asked questions
What is a wedding tablescape?
A tablescape is the complete designed surface of a guest table — linen, crockery, glassware, cutlery, napery, florals, candlelight, stationery and any decorative objects — treated as one composition rather than a collection of separate hire items.
How do you style a wedding table on a tight budget?
Spend on the two elements guests touch and photograph most — linen and candlelight — and simplify everywhere else. A generous cloth, plenty of low candles and a single repeated botanical element will read as considered, while a table crowded with cheap mixed props reads as busy.
What height should wedding centrepieces be?
Either below roughly 30cm or above roughly 60cm, so guests can see each other across the table. The zone in between blocks eye lines and is the most common styling mistake at reception tables.
How long does it take to style a wedding reception table?
Allow around 10 to 15 minutes per guest table for a full styling setup once everything is unpacked and pressed, plus separate time for linen, floor plan checks and the top table. Always confirm your venue access window before you promise a look that needs three hours.
Do I need a qualification to be a wedding stylist?
There is no legal requirement, but formal training shortens the learning curve enormously — design principles, supplier relationships, quoting, logistics and installation are the parts that separate a stylist who gets rebooked from one who does not.